I’ve been using a BeagleBone AI-64 for my hobby projects for a while. I decided to stick with this board as long as I can—no extra budget for new hardware and not much room for more gear.
The first step was to build an enclosure (case). I searched Amazon but couldn’t find anything suitable. One model existed but has been out of stock for a while. This board also runs hot, so it definitely needs active cooling (a fan). For my projects, I also need a USB-to-Serial adapter, plus Wi-Fi and Bluetooth.
One reason I picked the BeagleBone AI-64 was its powerful processor with AI support. Getting it up and running came with plenty of challenges—which I enjoyed—even though the board doesn’t seem to have a huge fanbase.
Designing the case with FreeCAD
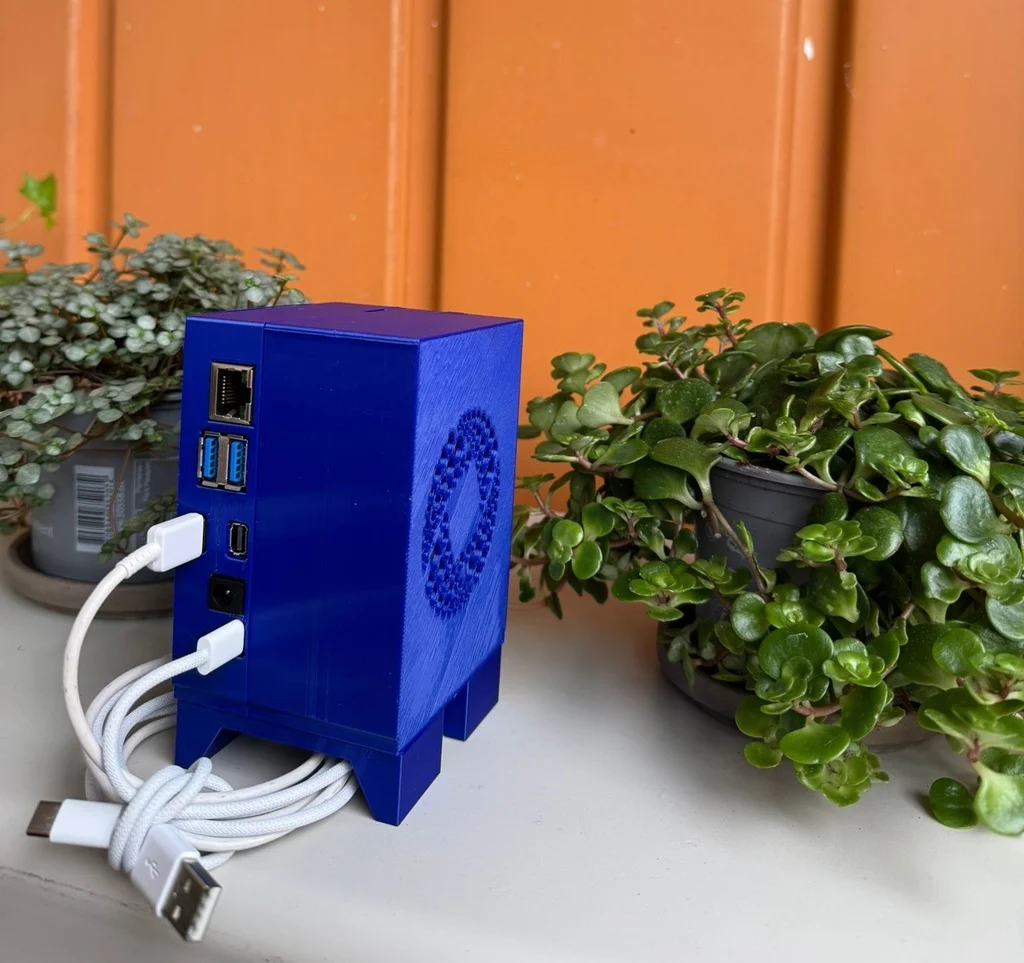
I had zero experience with FreeCAD, but after a few tutorial videos and three days of tinkering, I designed the first version of the enclosure. It’s not finished yet: I still need to add LED light pipes/holes and a hatch for the Extension Board area. Those will come in the next revision.
Hardware details
- Fan: Noctua NF-A6x25 5V (datasheet says it’s quiet; I haven’t tested it yet)
- USB-to-Serial: Waveshare USB to UART (TTL) Mini
- 3D printer: FlashForge Adventurer 4
I know the design isn’t professional and there’s room to improve, but it already gets the job done—and I’m happy with it for a first attempt.
🔗 Download & test the STL: Thingiverse – BeagleBone AI-64 Enclosure